
业务流程
截止到上一章节,其实所有基本的功能模块已经开发完毕了,并可以完成基本测试调用。从本章开始将是对网关功能的细节迭代,因为这些内容会涉及到对网关六个模块【admin、center、core、assist、engine、sdk】的开发。所以到本章开始把整个工程合并,后续的章节将按照创建分支的方式进行开发。
前面的章节对于各个模块的开发都是渐进迭代,现在核心的功能已经完成,整个网关项目的骨架各个部分已经完成,我们本章节要做的就是将各个部分组合在一个项目中去,将正个网关骨架搭起来。
本章我们可以回想下,我们一共开发了几个微服务模块工程,来支持网关的整体服务。其实目前网关的这六个模块工程,主要分为3个大的部分在运行。如图所示;

第一组:网关算力,由 api-gateway-core、api-gateway-assit、api-gateway-engine 组成,core 提供算力、assist 处理封装、engine 镜像打包和启动。
第二组:管理中心,由 api-gateway-admin、api-gateway-center 组成,admin 后台运营、center 注册中心。
第三组:接口上报,由 api-gateway-sdk 提供,它被应用系统引入,在应用系统中以注解的方式摘取应用RPC接口信息并向注册中心发送。
在以往的测试中,我们进行测试要同时打开好几个项目,而现在网关的核心功能转发已经完成,为了后续更好的迭代和维护,我们把几组系统进行模块的工程合并,放到一个项目中去。
业务实现
模块合并
本章节项目代码如下
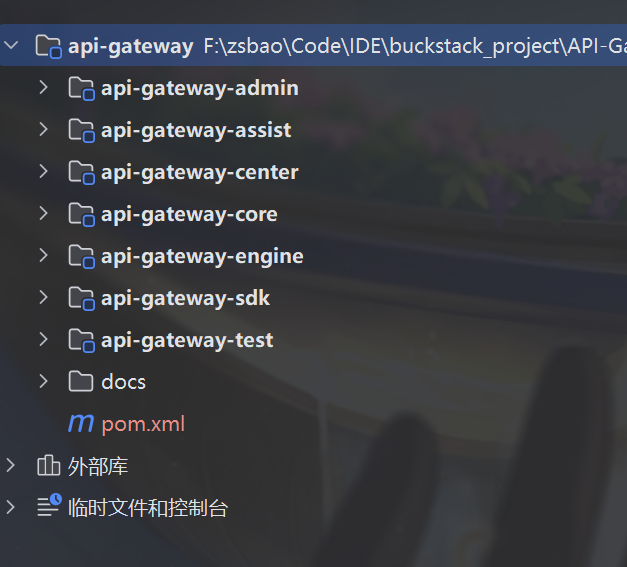
我们将前面章节的渐进式开发的每个模块的最后一版,放入新建的api-gateway项目中作为模块合并起来
合并的方式是通过 IDEA 创建出一个多模块工程api-gateway,再分别把咱们网关的各个模块代码复制进去。
admin-管理后台、assist-助手、center-注册中心、core-核心通信、engine-引擎、sdk-上报接口、test-rpc测试工程
doc 包含了最新的 sql文件、nginx配置等内容,后续一些必备的配置也会放到这里。
此外,api-gateway-center、api-gateway-engine,都是Java的部署工程,已经在工程下提供了好了 Docker 配置,非常容易上手部署。
既然现在,模块已经组装完成,那么现在我们就来将项目部署到docker中,看看我们的项目能否在部署环境中跑通。
我们准备将几个模块和MySQL,redis。zookeeper放在同一个docker网络中
项目部署
api-gateway-center
首先是api-gateway-center模块,作为整个网关项目的注册中心,现在我们来将其部署。
项目的开发环境会分为开发环境,生产环境,其中开发环境的配置就是前面章节的
application-dev.yml
server:
port: 8001
nginx:
server_name: 127.0.0.1
spring:
datasource:
username: root
password: 123456
url: jdbc:mysql://127.0.0.1:13306/api_gateway?useUnicode=true&characterEncoding=UTF-8
driver-class-name: com.mysql.cj.jdbc.Driver
redis:
host: 127.0.0.1
port: 16379
mybatis:
mapper-locations: classpath:/mapper/*.xml
config-location: classpath:/config/mybatis-config.xml现在我们来准备生产环境的配置
application-prod.yml。由于将会和各个环境处于同一个docker网络中,因此我们以容器名称作为其地址
server:
port: 8901
nginx:
server_name: nginx
spring:
datasource:
username: root
password: 123456
url: jdbc:mysql://mysql:3306/api_gateway?useUnicode=true&characterEncoding=UTF-8
driver-class-name: com.mysql.cj.jdbc.Driver
redis:
host: redis
port: 6379
mybatis:
mapper-locations: classpath:/mapper/*.xml
config-location: classpath:/config/mybatis-config.xml然后还有application.yml
 spring:
   profiles:
active: prod接下来准备构造api-gateway-center镜像的Dockerfile
 # 基础镜像
 FROM openjdk:8-jre-slim
 # 作者
 MAINTAINER zshunbao
 # 配置
 ENV PARAMS=""
 # 时区
 ENV TZ=PRC
 RUN ln -snf /usr/share/zoneinfo/$TZ /etc/localtime && echo $TZ > /etc/timezone
 # 添加应用
 ADD target/api-gateway-center-*.jar /api-gateway-center.jar
 ## 在镜像运行为容器后执行的命令
ENTRYPOINT ["sh","-c","java -jar $JAVA_OPTS /api-gateway-center.jar $PARAMS"]然后是构造镜像的执行脚本build.sh
docker build -f ./Dockerfile -t api-gateway-center:1.0.0 .最后是通过镜像构造实例容器的脚本start.sh(缺少docker网络内容)
 docker run -p 8901:8901 \
 -v /f/zsbao/Code/IDE/buckstack_project/API-GateWay/api-gateway/docs/dev-ops/environment/nginx/conf:/data/nginx/conf \
 -v /var/run/docker.sock:/var/run/docker.sock \
 --name api-gateway-center \
-d api-gateway-center:1.0.0 CP4-LISTEN:8001,fork,reuseaddr UNIX-CONNECT:/var/run/docker.sock TCP4-LISTEN:8001,fork,reuseaddr UNIX-CONNECT:/var/run/docker.sock但是我们想要让api-gateway-center与MySQL等处于同一个环境中,而使用start.sh构造并不直观也不方便,所以我们将start.sh的内容转化为对应的docker-compose.yml的内容
   #api-gateway-center
   api-gateway-center:
     image: api-gateway-center:1.0.0
     container_name: api-gateway-center
     restart: always
     ports:
       - "8901:8901"
     volumes:
       - ./nginx/conf:/data/nginx/conf
       - /var/run/docker.sock:/var/run/docker.sock
     command:
       - CP4-LISTEN:8001,fork,reuseaddr
       - UNIX-CONNECT:/var/run/docker.sock
       - TCP4-LISTEN:8001,fork,reuseaddr
       - UNIX-CONNECT:/var/run/docker.sock
     networks:
       - api-gateway
有了上述内容,部署api-gateway-center到docker的步骤如下
构造对应的jar包:先在idea中mavean clean,然后执行mavean install
构造对应的镜像文件:运行build.sh脚本
部署到docker:运行对应的docker-compose.yml内容
api-gateway-engine
api-gateway-engine的过程与api-gateway-center的过程其实类似
首先是application-prod.yml
server:
port: 8007
api-gateway:
address: http://api-gateway-center:8001 # 注册中心;从这里获取接口信息以及完成注册网关操作
groupId: 10001 # 网关分组;每一个网关通信组件都分配一个对应的分组
gatewayId: api-gateway-g4 # 网关标识;
gatewayName: 电商配送网关 # 网关名称
gatewayAddress: api-gateway-engine:7397 # 网关服务;网关的通信服务Netty启动时使用IP和端口
然后是application.yml
 spring:
   profiles:
active: prod对应的Dockerfile
 # 基础镜像
 FROM openjdk:8-jre-slim
 # 作者
 MAINTAINER zshunbao
 # 配置
 ENV PARAMS=""
 # 时区
 ENV TZ=PRC
 RUN ln -snf /usr/share/zoneinfo/$TZ /etc/localtime && echo $TZ > /etc/timezone
 # 添加应用
 ADD target/api-gateway-engine.jar /api-gateway-engine.jar
 # 执行镜像
 ENTRYPOINT ["sh","-c","java -jar $JAVA_OPTS /api-gateway-engine.jar $PARAMS"]
build.sh
docker build -f ./Dockerfile -t api-gateway-engine:1.0.0 .对应的start.sh
docker run -p 8004:8004 -p 7397:7397 --name api-gateway-engine -d api-gateway-engine:1.0.1这里我们的网关有复杂均衡的能力,为了验证,我们需要多部署几个api-gateway-engine的实例
因此通过其start.sh而来的docker-compose.yml如下
api-gateway-engine-01:
image: api-gateway-engine:1.0.0
container_name: api-gateway-engine-01
restart: always
ports:
- "8902:8902"
- "7397:7397"
environment:
PARAMS: >
--server.port=8902
--api-gateway.address=http://api-gateway-center:8901
--api-gateway.groupId=10001
--api-gateway.gatewayId=api-gateway-g4
--api-gateway.gatewayName=电商配送网关
--api-gateway.gatewayAddress=api-gateway-engine-01:7397
networks:
- api-gateway
api-gateway-engine-02:
image: api-gateway-engine:1.0.0
container_name: api-gateway-engine-02
restart: always
ports:
- "8903:8903"
- "7398:7398"
environment:
PARAMS: >
--server.port=8903
--api-gateway.address=http://api-gateway-center:8901
--api-gateway.groupId=10001
--api-gateway.gatewayId=api-gateway-g4
--api-gateway.gatewayName=电商配送网关
--api-gateway.gatewayAddress=api-gateway-engine-02:7398
networks:
- api-gateway
api-gateway-engine-03:
image: api-gateway-engine:1.0.0
container_name: api-gateway-engine-03
restart: always
ports:
- "8904:8904"
- "7399:7399"
environment:
PARAMS: >
--server.port=8904
--api-gateway.address=http://api-gateway-center:8901
--api-gateway.groupId=10001
--api-gateway.gatewayId=api-gateway-g4
--api-gateway.gatewayName=电商配送网关
--api-gateway.gatewayAddress=api-gateway-engine-03:7399
networks:
- api-gateway有了上述内容,部署api-gateway-engine到docker的步骤如下
构造对应的jar包:先在idea中mavean clean,然后执行mavean install(要分别对3个模块执行:api-gateway-core,api-gateway-assist,api-gateway-engin)
构造对应的镜像文件:运行api-gateway-engine的build.sh脚本
部署到docker:运行api-gateway-engine对应的docker-compose.yml内容
这里有一个小注意点,在mavean install api-gateway-core之前,我们由于是部署到docker中,docker会给容器自动分配随机IP,那么在api-gateway-core的GatewaySocketServer.java内要注意其中的IP,端口绑定代码端
 //InetSocketAddress 是 Java 用于表示“IP + 端口”的地址对象
             //syncUninterruptibly() 会阻塞直到启动完成(不抛出异常)
             // Docker 容器部署会自动分配IP,所以我们只设定端口即可。
             //channelFuture = b.bind(new InetSocketAddress(configuration.getHostName(), configuration.getPort())).syncUninterruptibly();
             channelFuture = b.bind(configuration.getPort()).syncUninterruptibly();
api-gateway-test
api-gateway-test是我们写的一个特别简单的RPC服务,其application-prod.yml
server:
port: 8082
dubbo:
application:
name: api-gateway-test
version: 1.0.0
registry:
#address: N/A 泛化调用不能使用此方式
address: zookeeper://zookeeper:2181
protocol:
name: dubbo
port: 20881
scan:
base-packages: cn.bugstack.gateway.rpc
api-gateway-sdk:
enabled: true
address: http://api-gateway-center:8901 # 注册中心;从这里获取接口信息以及完成注册网关操作
systemId: api-gateway-test-provider
systemName: 网关sdk测试工程
systemRegistry: zookeeper://zookeeper:2181application.yml
 spring:
   profiles:
     active: prod
pom文件为
<?xml version="1.0" encoding="UTF-8"?>
<project xmlns="http://maven.apache.org/POM/4.0.0"
xmlns:xsi="http://www.w3.org/2001/XMLSchema-instance"
xsi:schemaLocation="http://maven.apache.org/POM/4.0.0 http://maven.apache.org/xsd/maven-4.0.0.xsd">
<modelVersion>4.0.0</modelVersion>
<groupId>cn.bugstack.gateway</groupId>
<artifactId>api-gateway-test</artifactId>
<version>1.0-SNAPSHOT</version>
<parent>
<groupId>org.springframework.boot</groupId>
<artifactId>spring-boot-starter-parent</artifactId>
<version>2.3.5.RELEASE</version>
<relativePath/> <!-- lookup parent from repository -->
</parent>
<packaging>jar</packaging>
<dependencies>
<dependency>
<groupId>org.springframework.boot</groupId>
<artifactId>spring-boot-starter-web</artifactId>
</dependency>
<dependency>
<groupId>org.springframework.boot</groupId>
<artifactId>spring-boot-starter-test</artifactId>
<scope>test</scope>
</dependency>
<dependency>
<groupId>com.alibaba</groupId>
<artifactId>fastjson</artifactId>
<version>1.2.58</version>
</dependency>
<dependency>
<groupId>org.apache.commons</groupId>
<artifactId>commons-lang3</artifactId>
<version>3.8</version>
</dependency>
<dependency>
<groupId>junit</groupId>
<artifactId>junit</artifactId>
<version>4.12</version>
<scope>test</scope>
</dependency>
<dependency>
<groupId>org.apache.dubbo</groupId>
<artifactId>dubbo</artifactId>
<version>2.7.5</version>
</dependency>
<dependency>
<groupId>org.apache.dubbo</groupId>
<artifactId>dubbo-spring-boot-starter</artifactId>
<version>2.7.5</version>
</dependency>
<dependency>
<groupId>org.apache.zookeeper</groupId>
<artifactId>zookeeper</artifactId>
<version>3.4.13</version>
</dependency>
<dependency>
<groupId>org.apache.curator</groupId>
<artifactId>curator-framework</artifactId>
<version>4.0.1</version>
</dependency>
<dependency>
<groupId>org.apache.curator</groupId>
<artifactId>curator-recipes</artifactId>
<version>4.0.1</version>
</dependency>
<dependency>
<groupId>cn.bugstack.gateway</groupId>
<artifactId>api-gateway-test-provider-rpc</artifactId>
<version>1.0-SNAPSHOT</version>
</dependency>
<!-- 服务注册组件 -->
<dependency>
<groupId>com.zshunbao.gateway</groupId>
<artifactId>api-gateway-sdk</artifactId>
<version>1.0-SNAPSHOT</version>
</dependency>
</dependencies>
<build>
<finalName>api-gateway-test</finalName>
<resources>
<resource>
<directory>src/main/resources</directory>
<filtering>true</filtering>
<includes>
<include>**/**</include>
</includes>
</resource>
</resources>
<testResources>
<testResource>
<directory>src/test/resources</directory>
<filtering>true</filtering>
<includes>
<include>**/**</include>
</includes>
</testResource>
</testResources>
<plugins>
<plugin>
<groupId>org.apache.maven.plugins</groupId>
<artifactId>maven-compiler-plugin</artifactId>
<version>3.3</version>
<configuration>
<source>${maven.compiler.source}</source>
<target>${maven.compiler.target}</target>
<encoding>${project.build.sourceEncoding}</encoding>
</configuration>
</plugin>
<!-- 必须加上这个 -->
<plugin>
<groupId>org.springframework.boot</groupId>
<artifactId>spring-boot-maven-plugin</artifactId>
</plugin>
</plugins>
</build>
</project>其Dockerfile
 # 基础镜像
 FROM openjdk:8-jre-slim
 # 作者
 MAINTAINER xiaofuge
 # 配置
 ENV PARAMS=""
 # 时区
 ENV TZ=PRC
 RUN ln -snf /usr/share/zoneinfo/$TZ /etc/localtime && echo $TZ > /etc/timezone
 # 添加应用
 ADD /target/api-gateway-test.jar /api-gateway-test.jar
 ## 在镜像运行为容器后执行的命令
 ENTRYPOINT ["sh","-c","java -jar $JAVA_OPTS /api-gateway-test.jar $PARAMS"]
build.sh
docker build -f ./Dockerfile -t api-gateway-test:1.0.0 .start.sh
docker run -p 8082:8082 -d api-gateway-test:1.0.0 --name api-gateway-test对应的docker-compose.yml
   api-gateway-test:
     image: api-gateway-test:1.0.0
     container_name: api-gateway-test
     restart: always
     ports:
       - "8082:8082"
     networks:
       - api-gateway
有了上述内容,部署api-gateway-test到docker的步骤如下
构造对应的jar包:先在idea中mavean clean,然后执行mavean install.(api-gateway-sdk,api-gateway-test)
构造对应的镜像文件:运行build.sh脚本
部署到docker:运行对应的docker-compose.yml内容
部署结果
最终在api-gateway-center,api-gateway-engine,api-gateway-test的镜像构建完成后,我们完整的docker-compose.yml如下
version: '1.0'
services:
zookeeper:
image: zookeeper:3.4.13
container_name: zookeeper
restart: always
hostname: zoo1
ports:
- 2181:2181
environment:
ZOO_MY_ID: 1
ZOO_SERVERS: server.1=zookeeper:2888:3888
networks:
- api-gateway
mysql:
image: mysql:8.0.32
container_name: mysql
command: --default-authentication-plugin=mysql_native_password
restart: always
environment:
TZ: Asia/Shanghai
MYSQL_ROOT_PASSWORD: 123456
ports:
- "13306:3306"
volumes:
- ./mysql/my.cnf:/etc/mysql/conf.d/mysql.cnf:ro
- ./mysql/sql:/docker-entrypoint-initdb.d
networks:
- api-gateway
# Redis
redis:
image: redis:6.2
container_name: redis
restart: always
hostname: redis
privileged: true
ports:
- 16379:6379
volumes:
- ./redis/redis.conf:/usr/local/etc/redis/redis.conf
- redis-data:/data # 数据持久化卷
command: redis-server /usr/local/etc/redis/redis.conf
networks:
- api-gateway # 统一网络
environment:
- TZ=Asia/Shanghai
#nginx
nginx: # 新增的 Nginx 服务
image: nginx
container_name: nginx
restart: always
ports:
- "8090:80"
volumes:
# 静态资源目录映射
- ./nginx/html:/usr/share/nginx/html
# Nginx 配置文件映射
- ./nginx/conf/nginx.conf:/etc/nginx/nginx.conf
networks:
- api-gateway
#api-gateway-center
api-gateway-center:
image: api-gateway-center:1.0.0
container_name: api-gateway-center
restart: always
ports:
- "8901:8901"
volumes:
- ./nginx/conf:/data/nginx/conf
- /var/run/docker.sock:/var/run/docker.sock
command:
- CP4-LISTEN:8001,fork,reuseaddr
- UNIX-CONNECT:/var/run/docker.sock
- TCP4-LISTEN:8001,fork,reuseaddr
- UNIX-CONNECT:/var/run/docker.sock
networks:
- api-gateway
api-gateway-engine-01:
image: api-gateway-engine:1.0.0
container_name: api-gateway-engine-01
restart: always
ports:
- "8902:8902"
- "7397:7397"
environment:
PARAMS: >
--server.port=8902
--api-gateway.address=http://api-gateway-center:8901
--api-gateway.groupId=10001
--api-gateway.gatewayId=api-gateway-g4
--api-gateway.gatewayName=电商配送网关
--api-gateway.gatewayAddress=api-gateway-engine-01:7397
networks:
- api-gateway
api-gateway-engine-02:
image: api-gateway-engine:1.0.0
container_name: api-gateway-engine-02
restart: always
ports:
- "8903:8903"
- "7398:7398"
environment:
PARAMS: >
--server.port=8903
--api-gateway.address=http://api-gateway-center:8901
--api-gateway.groupId=10001
--api-gateway.gatewayId=api-gateway-g4
--api-gateway.gatewayName=电商配送网关
--api-gateway.gatewayAddress=api-gateway-engine-02:7398
networks:
- api-gateway
api-gateway-engine-03:
image: api-gateway-engine:1.0.0
container_name: api-gateway-engine-03
restart: always
ports:
- "8904:8904"
- "7399:7399"
environment:
PARAMS: >
--server.port=8904
--api-gateway.address=http://api-gateway-center:8901
--api-gateway.groupId=10001
--api-gateway.gatewayId=api-gateway-g4
--api-gateway.gatewayName=电商配送网关
--api-gateway.gatewayAddress=api-gateway-engine-03:7399
networks:
- api-gateway
api-gateway-test:
image: api-gateway-test:1.0.0
container_name: api-gateway-test
restart: always
ports:
- "8082:8082"
networks:
- api-gateway
networks:
api-gateway:
driver: bridge
volumes: # 添加数据卷定义
redis-data:
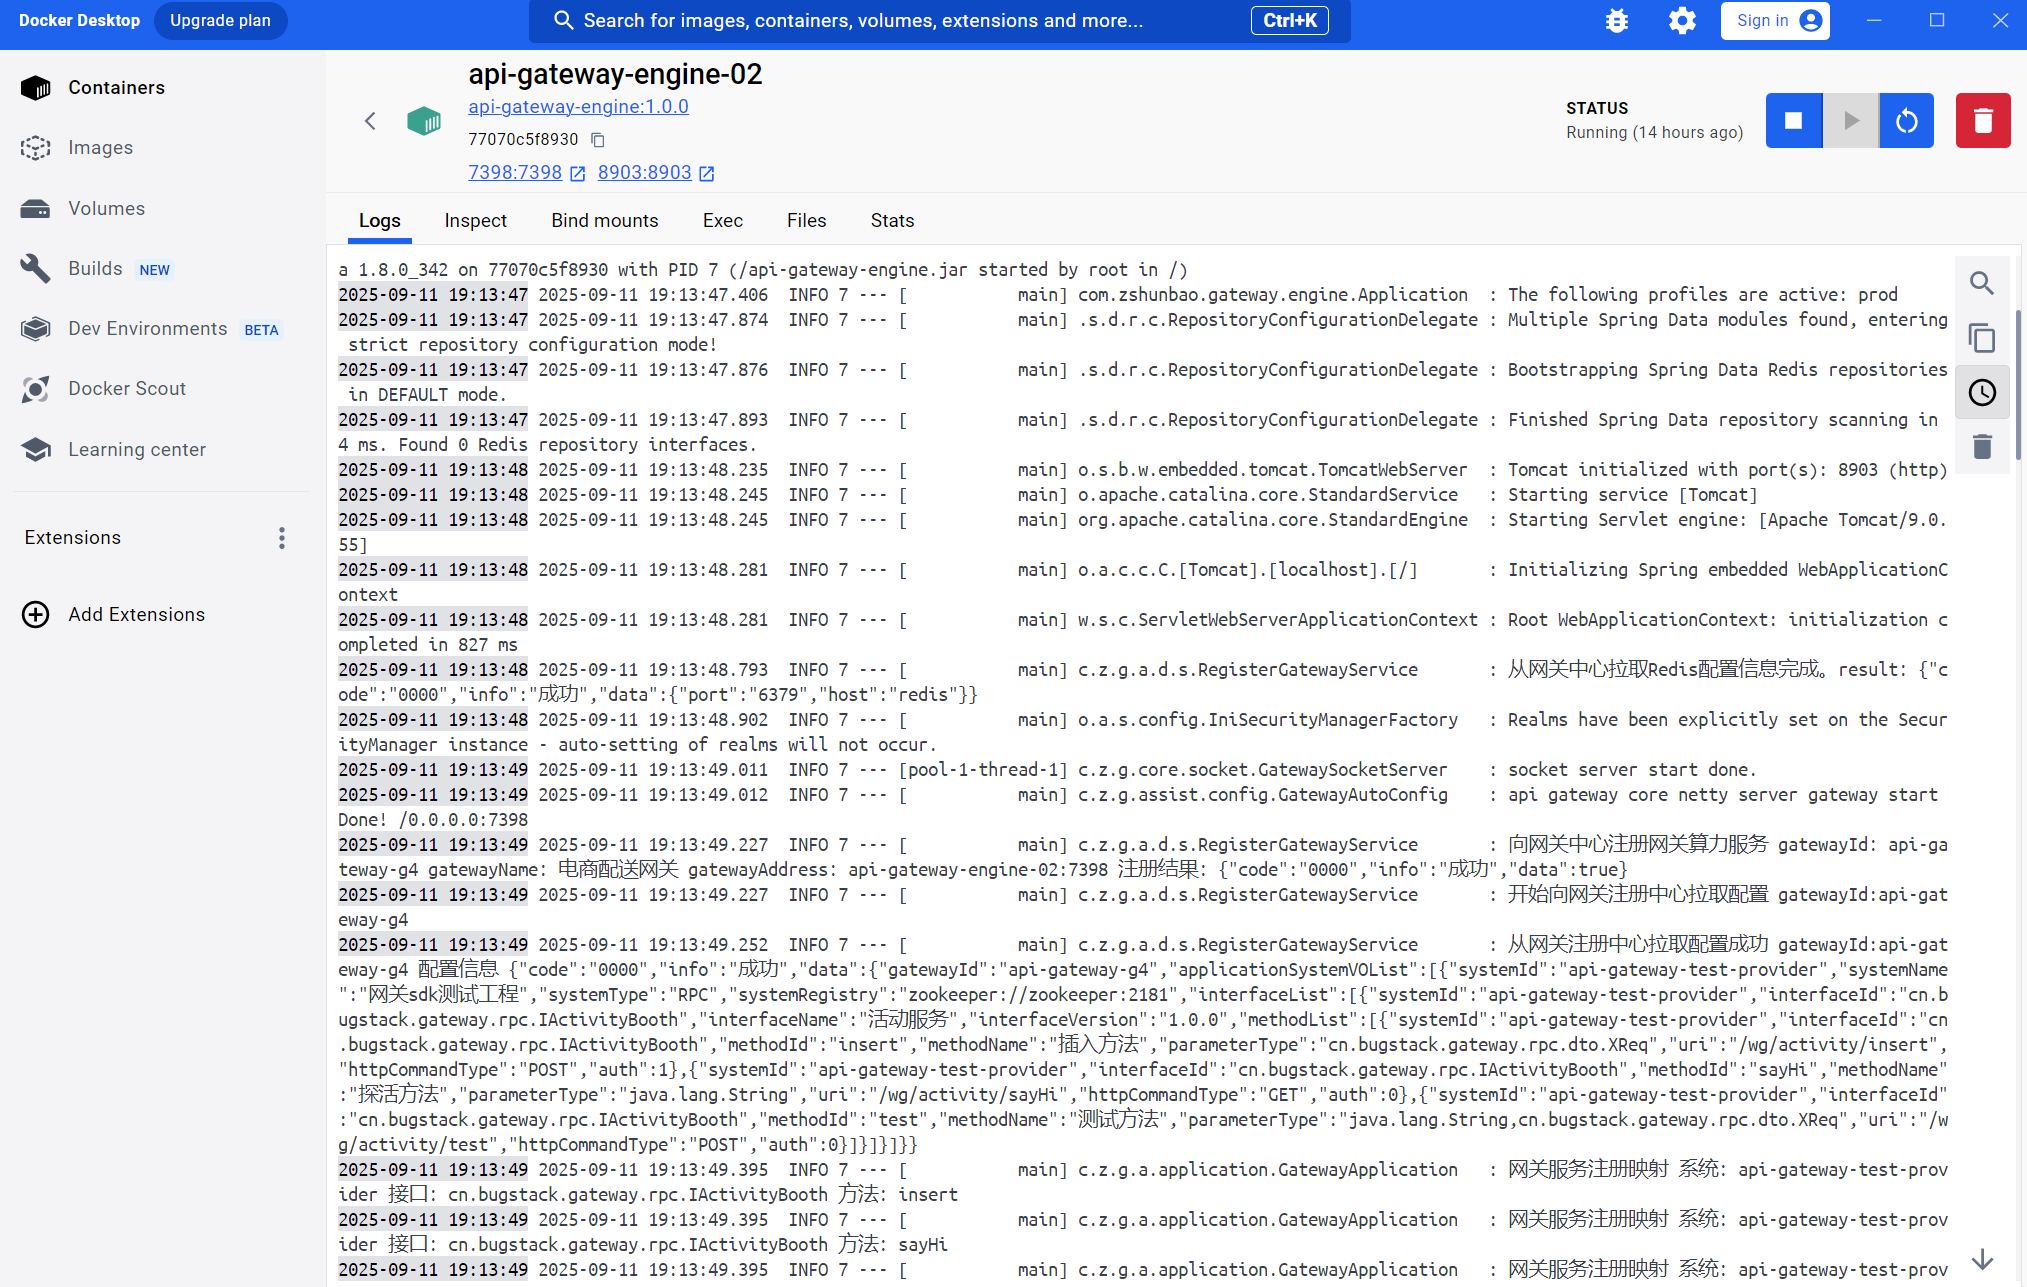
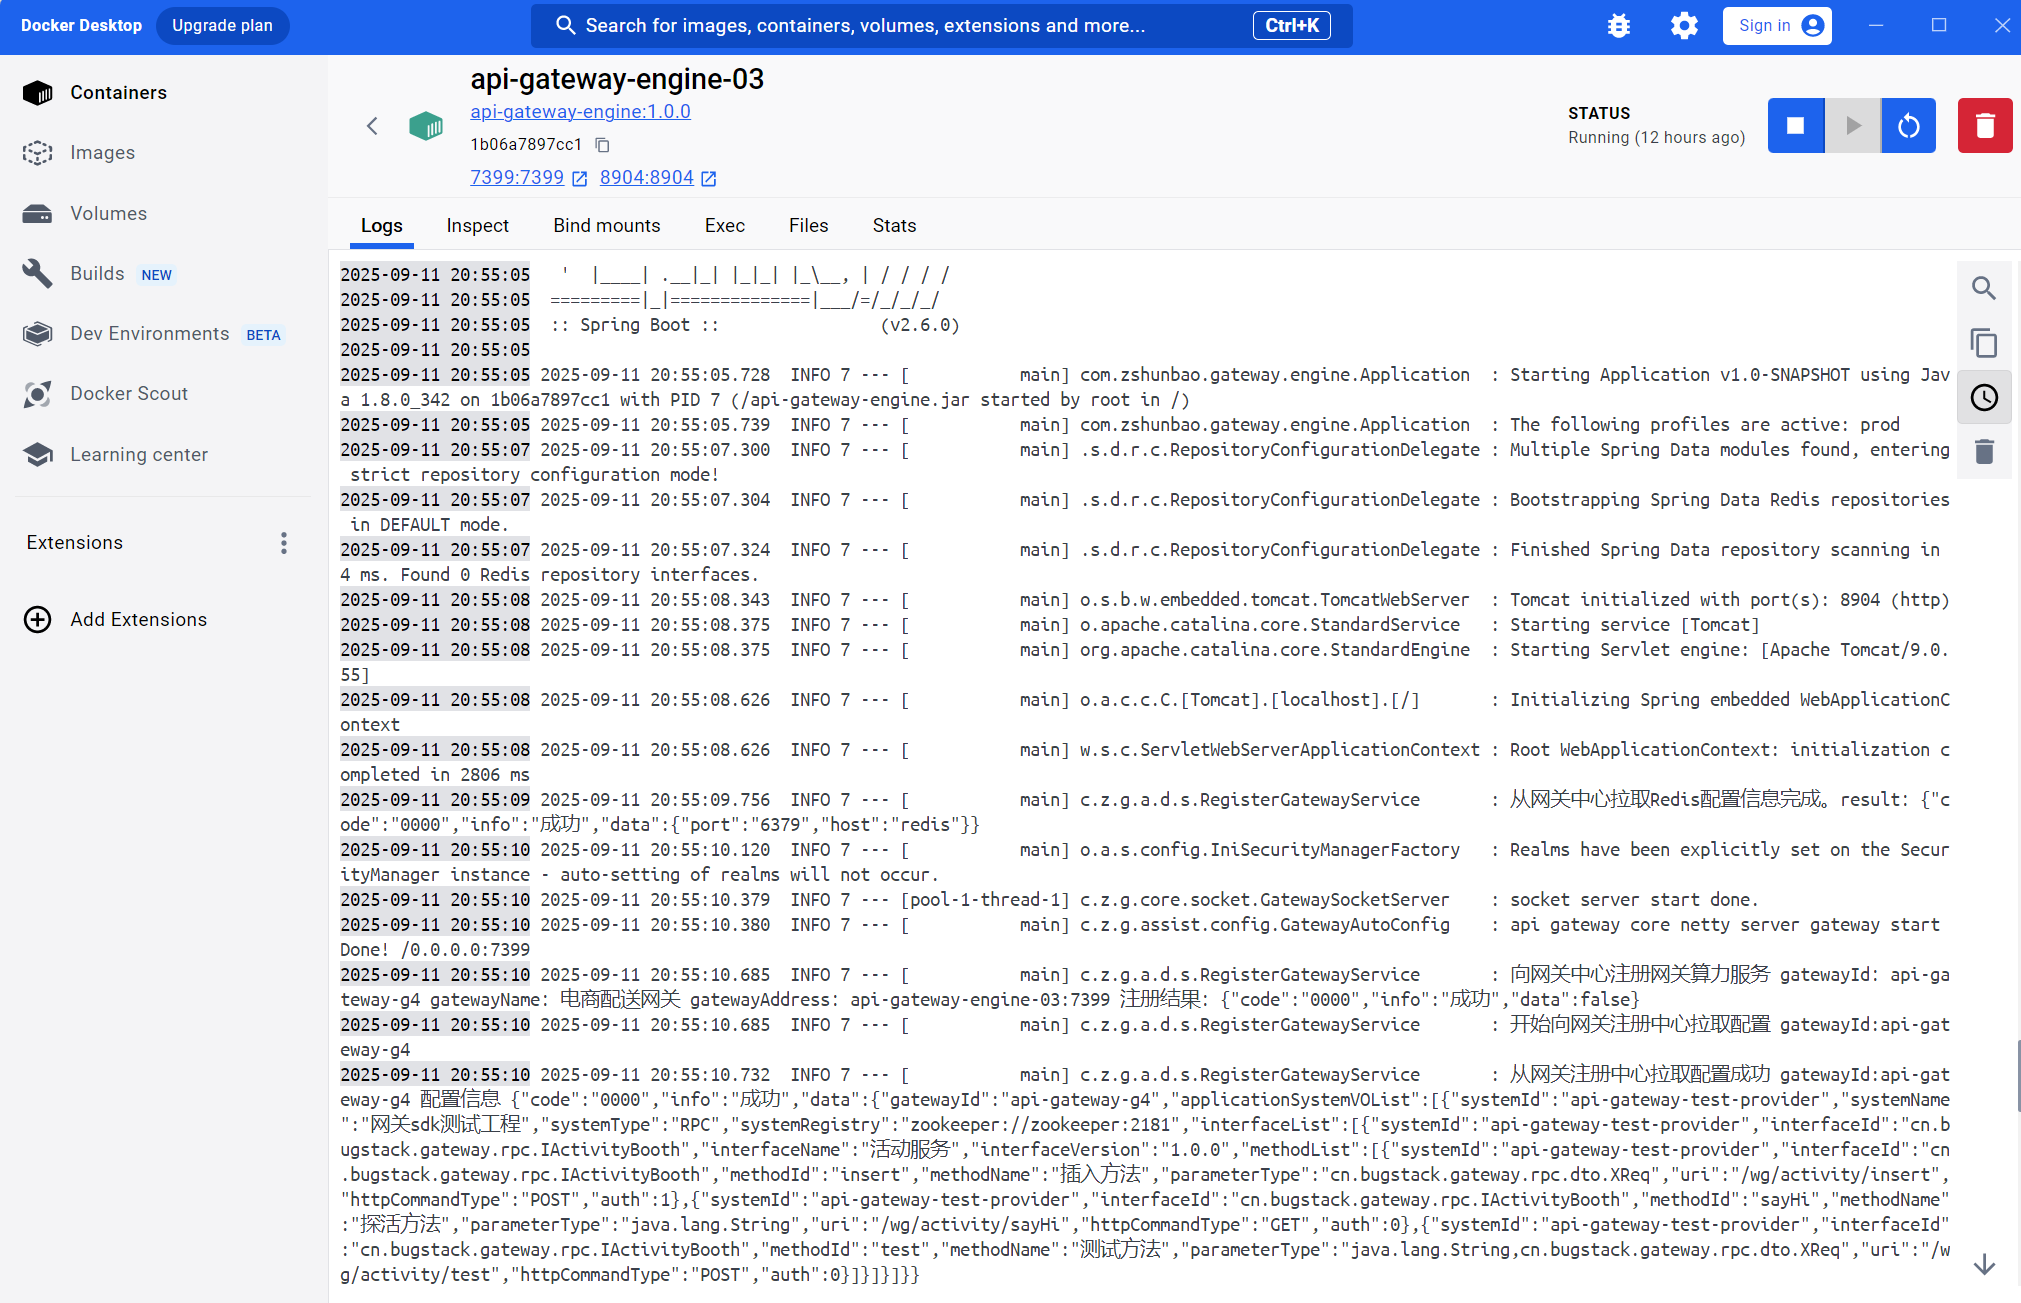
点击启动,最终如下图
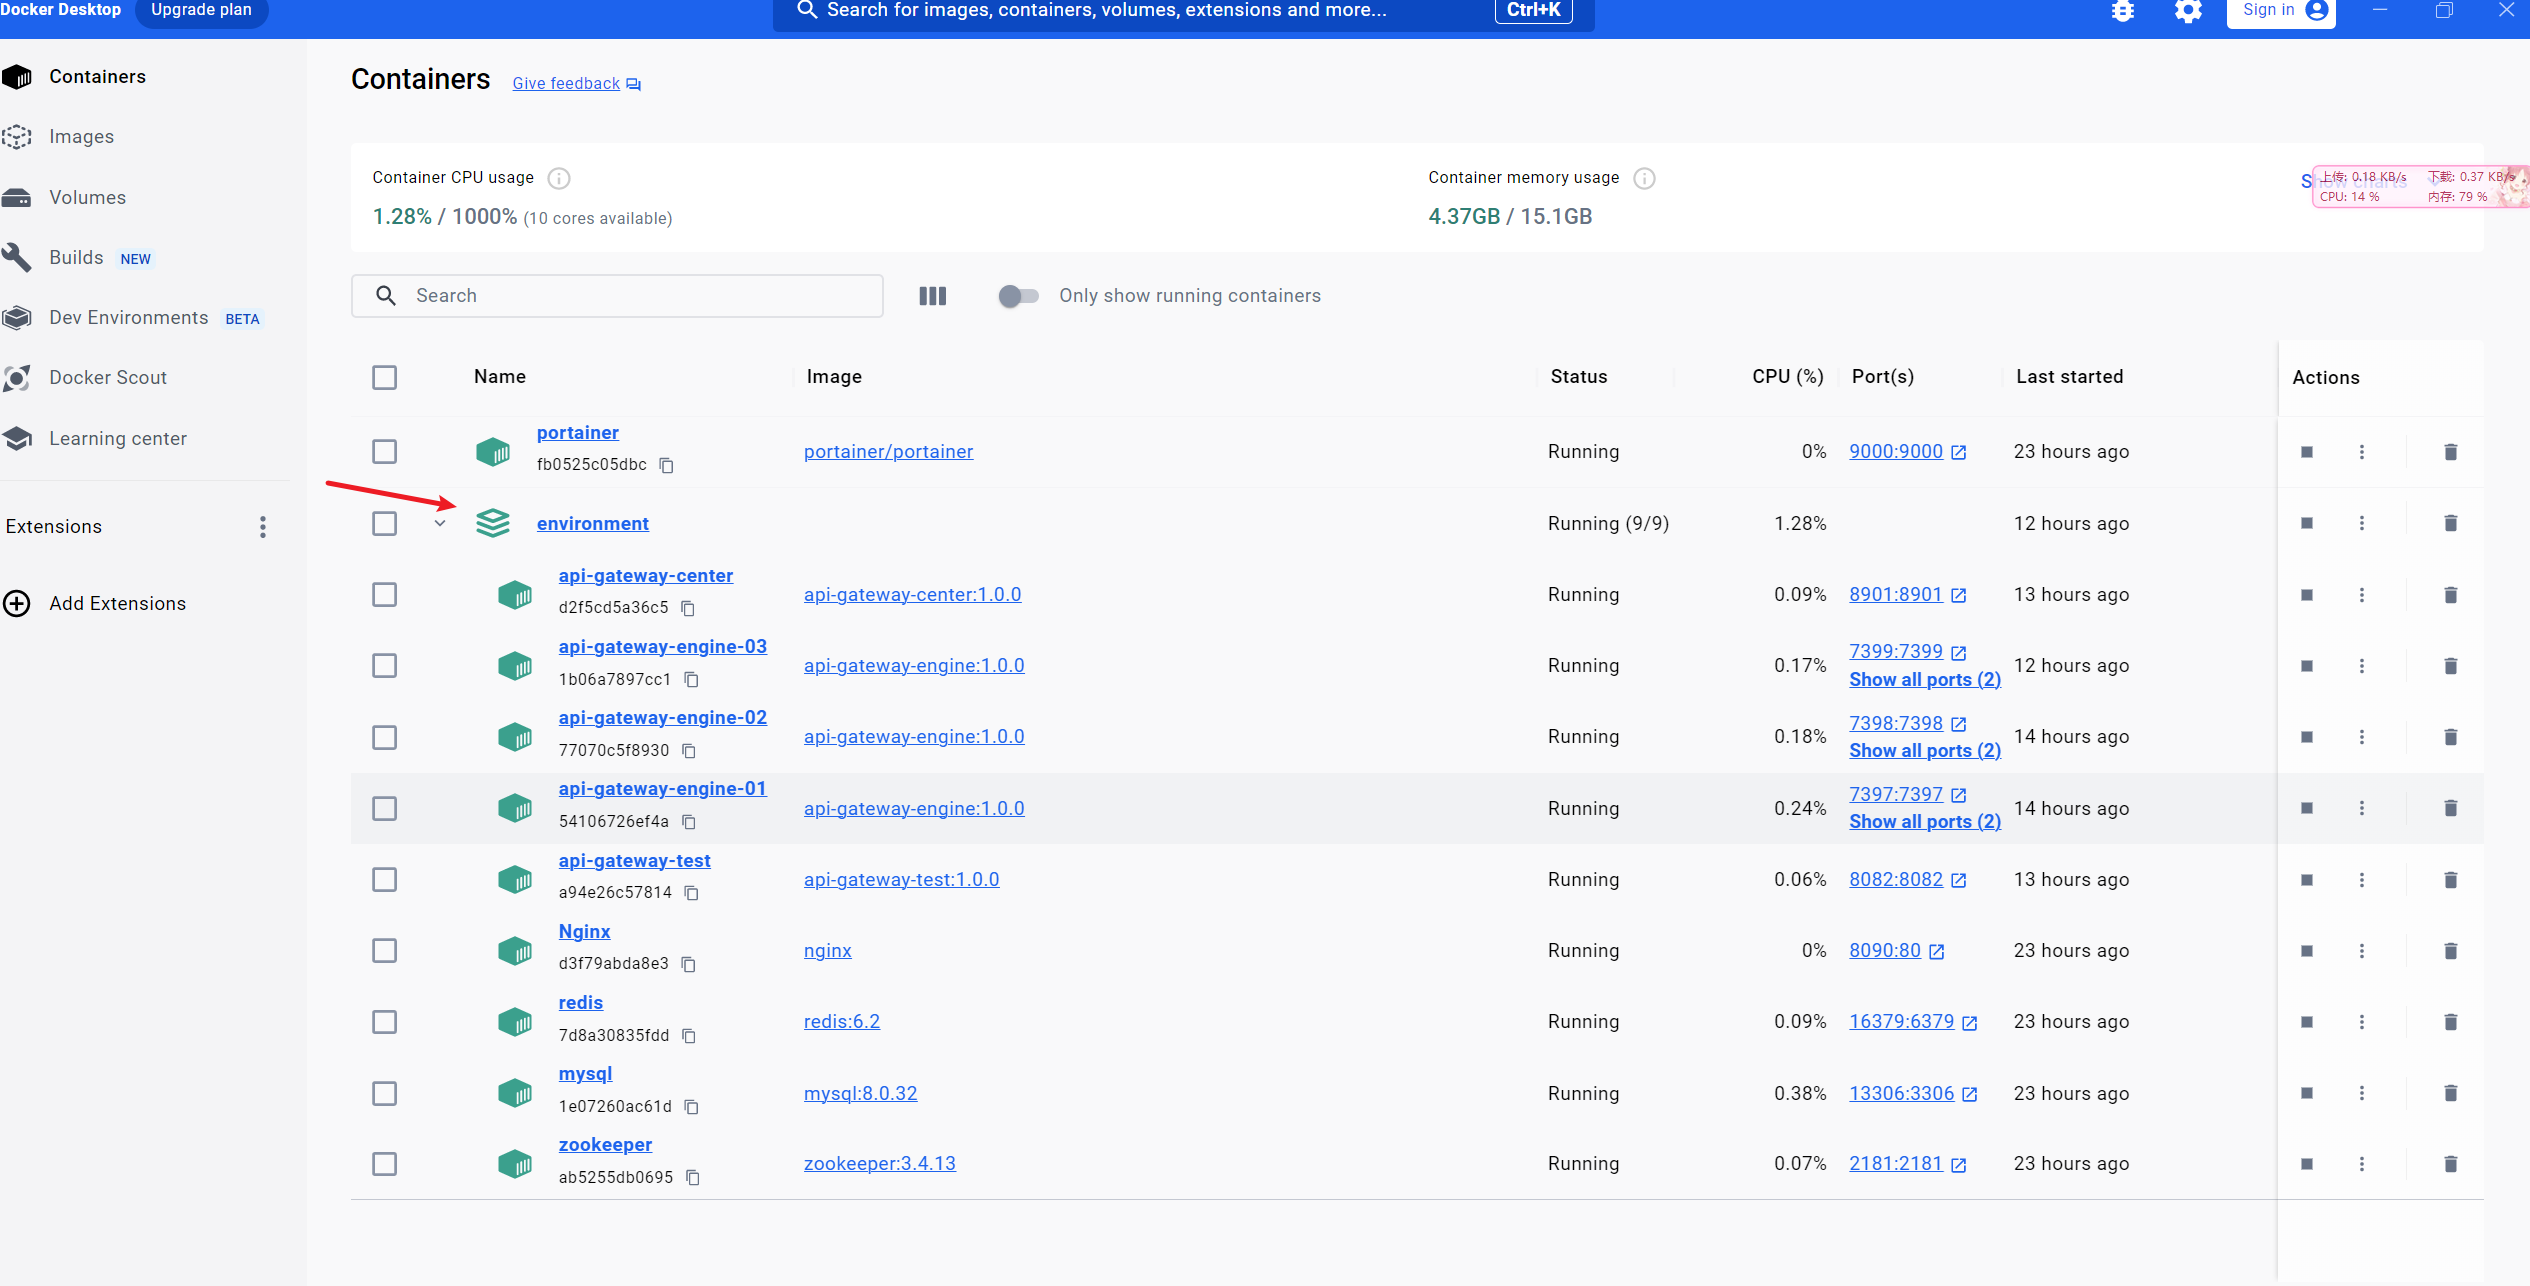
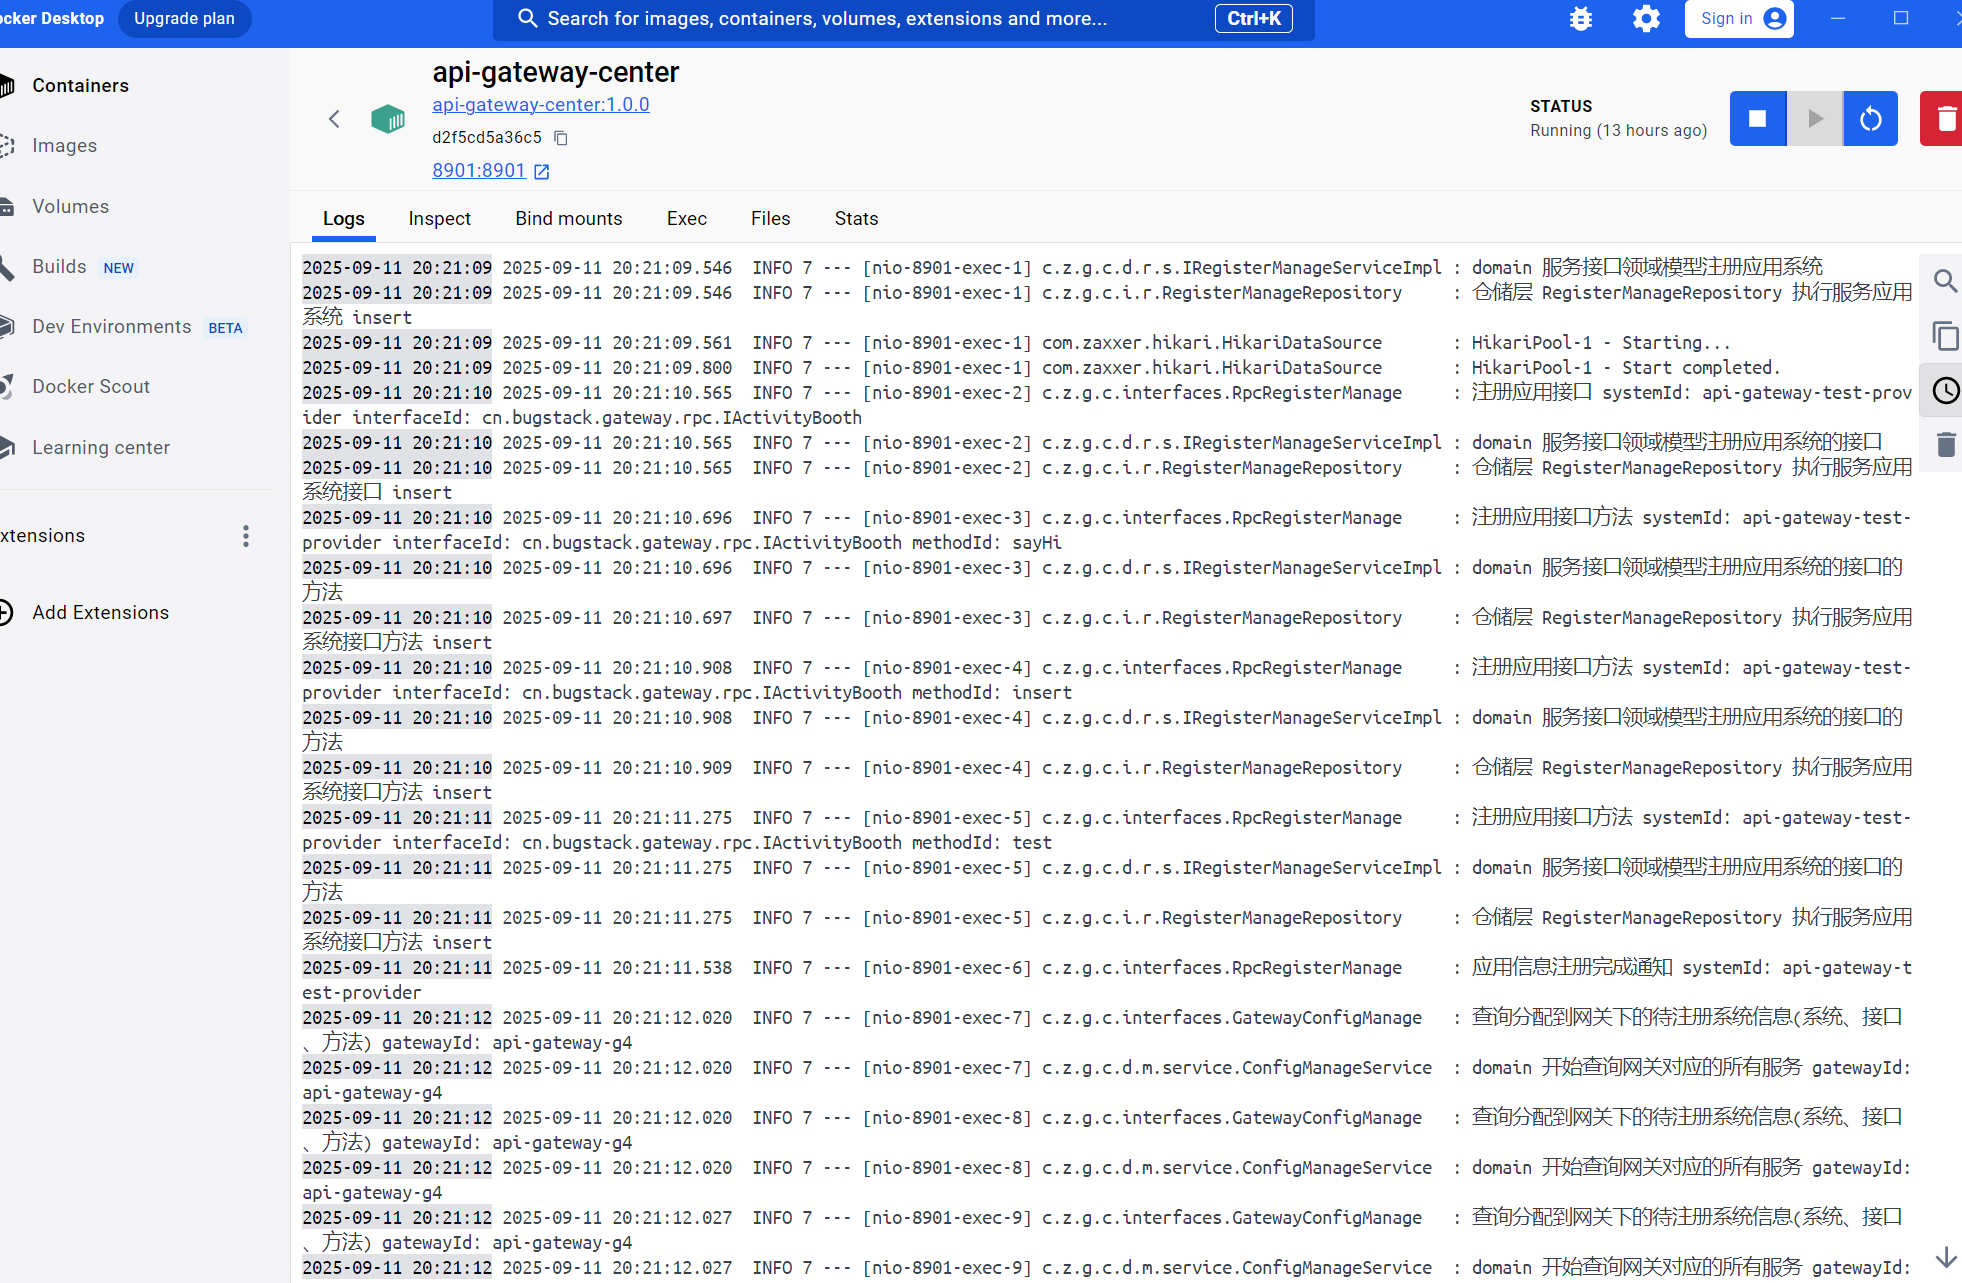
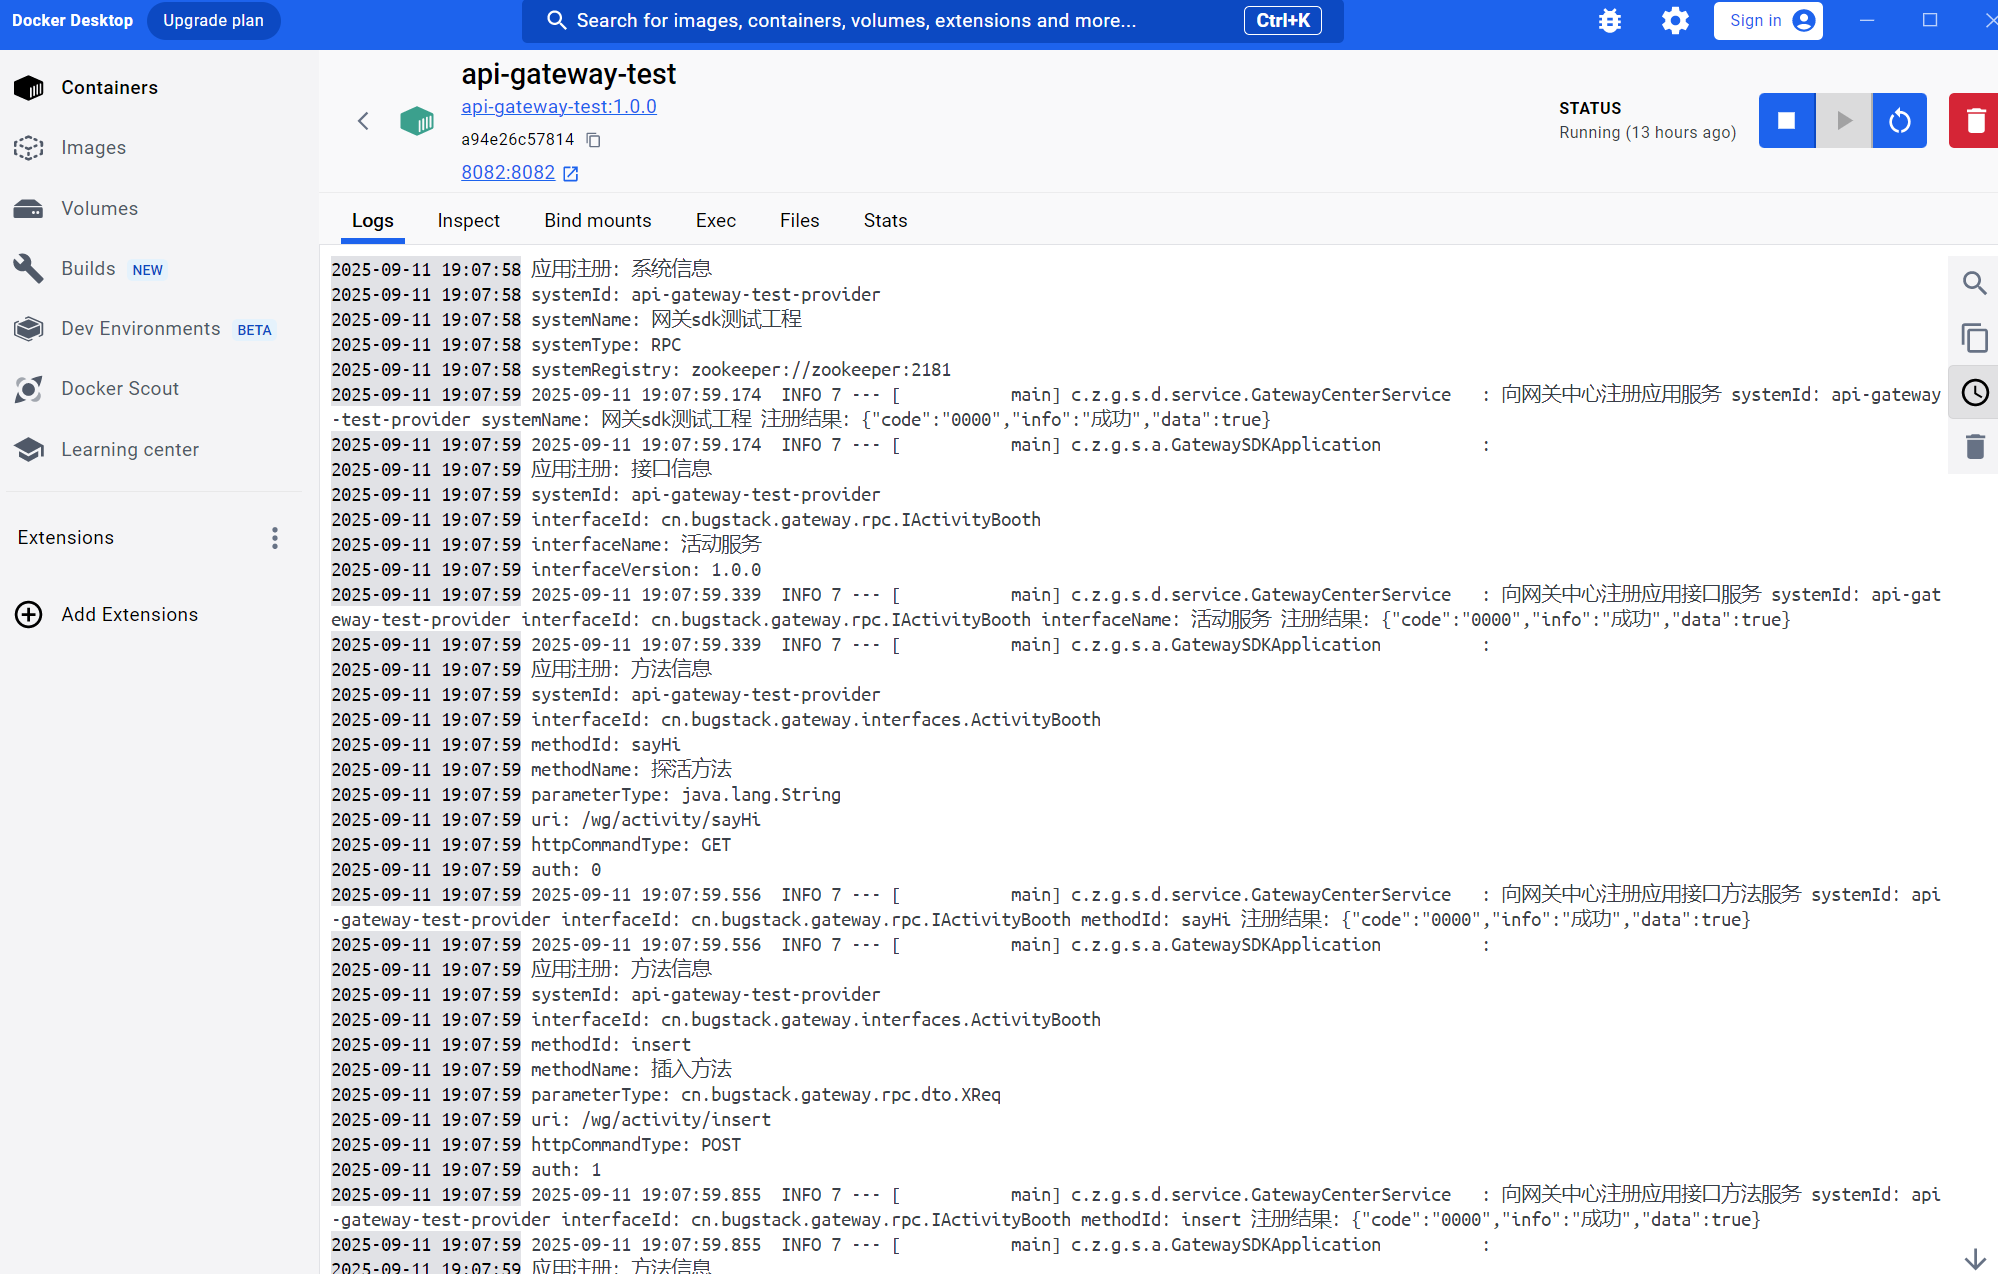
日志如下
额外修改
在上述部署中有关RPC服务的部署,当api-gateway-test进行部署后,一旦启动我们的api-gateway-sdk组件会自动的向网关注册中心api-gateway-center发起注册功能,但是我们会发现,如果这个服务在之前注册过(数据库中有相关索引记录),重启后再次发起注册请求,
注册请求会失败,而在api-gateway-center的日志中我们会发现索引冲突的错误。这里的问题在于原先我们的RPC服务注册请求,只考虑了服务第一册注册,却没有考虑到服务断开重新注册的情况,因此这里我们进入api-gateway-center中的RPC服务注册的代码逻辑中进行修改:
在注册之前先检查数据库中是否已近存在对应的索引记录
有,则更新数据库记录
无,则插入数据
由于api-gateway-center的项目是DDD的模式,而在domain领域层关于注册也都是直接调用仓储层的服务,因此这里的修改我们全部放在对应仓储层中,如下
api-gateway/api-gateway-center/src/main/java/com/zshunbao/gateway/center/infrastructure/repository/RegisterManageRepository.java
package com.zshunbao.gateway.center.infrastructure.repository;
import com.zshunbao.gateway.center.domain.register.model.vo.ApplicationInterfaceMethodVO;
import com.zshunbao.gateway.center.domain.register.model.vo.ApplicationInterfaceVO;
import com.zshunbao.gateway.center.domain.register.model.vo.ApplicationSystemVO;
import com.zshunbao.gateway.center.domain.register.repository.IRegisterManageRepository;
import com.zshunbao.gateway.center.infrastructure.dao.IApplicationInterfaceDao;
import com.zshunbao.gateway.center.infrastructure.dao.IApplicationInterfaceMethodDao;
import com.zshunbao.gateway.center.infrastructure.dao.IApplicationSystemDao;
import com.zshunbao.gateway.center.infrastructure.po.ApplicationInterface;
import com.zshunbao.gateway.center.infrastructure.po.ApplicationInterfaceMethod;
import com.zshunbao.gateway.center.infrastructure.po.ApplicationSystem;
import com.zshunbao.gateway.center.interfaces.RpcRegisterManage;
import org.slf4j.Logger;
import org.slf4j.LoggerFactory;
import org.springframework.stereotype.Component;
import javax.annotation.Resource;
/**
* @program: api-gateway-center
* @ClassName RegisterManageRepository
* @description: RPC接口注册仓储服务
* @author: zs宝
* @create: 2025-08-20 14:30
* @Version 1.0
**/
@Component
public class RegisterManageRepository implements IRegisterManageRepository{
private Logger logger = LoggerFactory.getLogger(RegisterManageRepository.class);
@Resource
private IApplicationSystemDao applicationSystemDao;
@Resource
private IApplicationInterfaceDao applicationInterfaceDao;
@Resource
private IApplicationInterfaceMethodDao applicationInterfaceMethodDao;
@Override
public void registerApplication(ApplicationSystemVO applicationSystemVO) {
logger.info("仓储层 RegisterManageRepository 执行服务应用系统 insert");
ApplicationSystem applicationSystem = new ApplicationSystem();
applicationSystem.setSystemId(applicationSystemVO.getSystemId());
applicationSystem.setSystemName(applicationSystemVO.getSystemName());
applicationSystem.setSystemType(applicationSystemVO.getSystemType());
applicationSystem.setSystemRegistry(applicationSystemVO.getSystemRegistry());
//判断该系统是否存在
ApplicationSystem applicationSystemRes=applicationSystemDao.queryApplicationSystem(applicationSystem);
//存在则更新,不存在则插入
if(applicationSystemRes==null){
applicationSystemDao.insert(applicationSystem);
}else {
applicationSystemDao.updateApplicationSystem(applicationSystem);
}
}
@Override
public void registerApplicationInterface(ApplicationInterfaceVO applicationInterfaceVO) {
logger.info("仓储层 RegisterManageRepository 执行服务应用系统接口 insert");
ApplicationInterface applicationInterface = new ApplicationInterface();
applicationInterface.setSystemId(applicationInterfaceVO.getSystemId());
applicationInterface.setInterfaceId(applicationInterfaceVO.getInterfaceId());
applicationInterface.setInterfaceName(applicationInterfaceVO.getInterfaceName());
applicationInterface.setInterfaceVersion(applicationInterfaceVO.getInterfaceVersion());
//判断该系统接口是否存在
ApplicationInterface applicationInterfaceRes=applicationInterfaceDao.queryApplicationInterface(applicationInterface);
//存在则更新,不存在则插入
if(applicationInterfaceRes==null){
applicationInterfaceDao.insert(applicationInterface);
}else {
applicationInterfaceDao.updateApplicationInterface(applicationInterface);
}
}
@Override
public void registerApplicationInterfaceMethod(ApplicationInterfaceMethodVO applicationInterfaceMethodVO) {
logger.info("仓储层 RegisterManageRepository 执行服务应用系统接口方法 insert");
ApplicationInterfaceMethod applicationInterfaceMethod = new ApplicationInterfaceMethod();
applicationInterfaceMethod.setSystemId(applicationInterfaceMethodVO.getSystemId());
applicationInterfaceMethod.setInterfaceId(applicationInterfaceMethodVO.getInterfaceId());
applicationInterfaceMethod.setMethodId(applicationInterfaceMethodVO.getMethodId());
applicationInterfaceMethod.setMethodName(applicationInterfaceMethodVO.getMethodName());
applicationInterfaceMethod.setParameterType(applicationInterfaceMethodVO.getParameterType());
applicationInterfaceMethod.setUri(applicationInterfaceMethodVO.getUri());
applicationInterfaceMethod.setHttpCommandType(applicationInterfaceMethodVO.getHttpCommandType());
applicationInterfaceMethod.setAuth(applicationInterfaceMethodVO.getAuth());
//判断该系统接口是否存在
ApplicationInterfaceMethod applicationInterfaceMethodRes=applicationInterfaceMethodDao.queryApplicationInterfaceMethod(applicationInterfaceMethod);
//存在则更新,不存在则插入
if(applicationInterfaceMethodRes==null){
applicationInterfaceMethodDao.insert(applicationInterfaceMethod);
}else {
applicationInterfaceMethodDao.updateApplicationInterfaceMethod(applicationInterfaceMethod);
}
}
}
其中对应的sql的xml如下
application_system.xml
<select id="queryApplicationSystem" parameterType="com.zshunbao.gateway.center.infrastructure.po.ApplicationSystem" resultMap="applicationSystemMap">
SELECT id, system_id, system_name, system_type, system_registry
FROM application_system
WHERE system_id =#{systemId}
</select>
<update id="updateApplicationSystem" parameterType="com.zshunbao.gateway.center.infrastructure.po.ApplicationSystem">
UPDATE application_system
<set>
<if test="systemName != null">
system_name = #{systemName},
</if>
<if test="systemType != null">
system_type = #{systemType},
</if>
<if test="systemRegistry != null">
system_registry = #{systemRegistry},
</if>
<!-- 更新时间始终更新 -->
update_time = NOW()
</set>
WHERE system_id = #{systemId}
</update>application_interface.xml
<select id="queryApplicationInterface" parameterType="com.zshunbao.gateway.center.infrastructure.po.ApplicationInterface" resultMap="applicationInterfaceMap">
SELECT
id, system_id, interface_id, interface_name, interface_version, create_time, update_time
FROM application_interface
<where>
<if test="systemId != null and systemId != ''">
AND system_id = #{systemId}
</if>
<if test="interfaceId != null and interfaceId != ''">
AND interface_id = #{interfaceId}
</if>
</where>
</select>
<update id="updateApplicationInterface" parameterType="com.zshunbao.gateway.center.infrastructure.po.ApplicationInterface">
UPDATE application_interface
<set>
<if test="interfaceName != null and interfaceName != ''">
interface_name = #{interfaceName},
</if>
<if test="interfaceVersion != null and interfaceVersion != ''">
interface_version = #{interfaceVersion},
</if>
<!-- 更新时间始终更新 -->
update_time = NOW()
</set>
WHERE system_id = #{systemId}
AND interface_id = #{interfaceId}
</update>application_interface_method.xml
<select id="queryApplicationInterfaceMethod" parameterType="com.zshunbao.gateway.center.infrastructure.po.ApplicationInterfaceMethod" resultMap="applicationInterfaceMethodMap">
SELECT
id,
system_id,
interface_id,
method_id,
method_name,
parameter_type,
uri,
http_command_type,
auth,
create_time,
update_time
FROM application_interface_method
<where>
<if test="systemId != null and systemId != ''">
AND system_id = #{systemId}
</if>
<if test="interfaceId != null and interfaceId != ''">
AND interface_id = #{interfaceId}
</if>
<if test="methodId != null and methodId != ''">
AND method_id = #{methodId}
</if>
</where>
</select>
<update id="updateApplicationInterfaceMethod" parameterType="com.zshunbao.gateway.center.infrastructure.po.ApplicationInterfaceMethod">
UPDATE application_interface_method
<set>
<if test="methodName != null and methodName != ''">
method_name = #{methodName},
</if>
<if test="parameterType != null and parameterType != ''">
parameter_type = #{parameterType},
</if>
<if test="uri != null and uri != ''">
uri = #{uri},
</if>
<if test="httpCommandType != null and httpCommandType != ''">
http_command_type = #{httpCommandType},
</if>
<if test="auth != null">
auth = #{auth},
</if>
<!-- 始终刷新更新时间 -->
update_time = NOW()
</set>
WHERE system_id = #{systemId}
AND interface_id = #{interfaceId}
AND method_id = #{methodId}
</update>测试
现在相关项目已经全部部署到docker上面了,并且已经成功启动,现在我们来进行访问测试,访问Nginx的映射端口
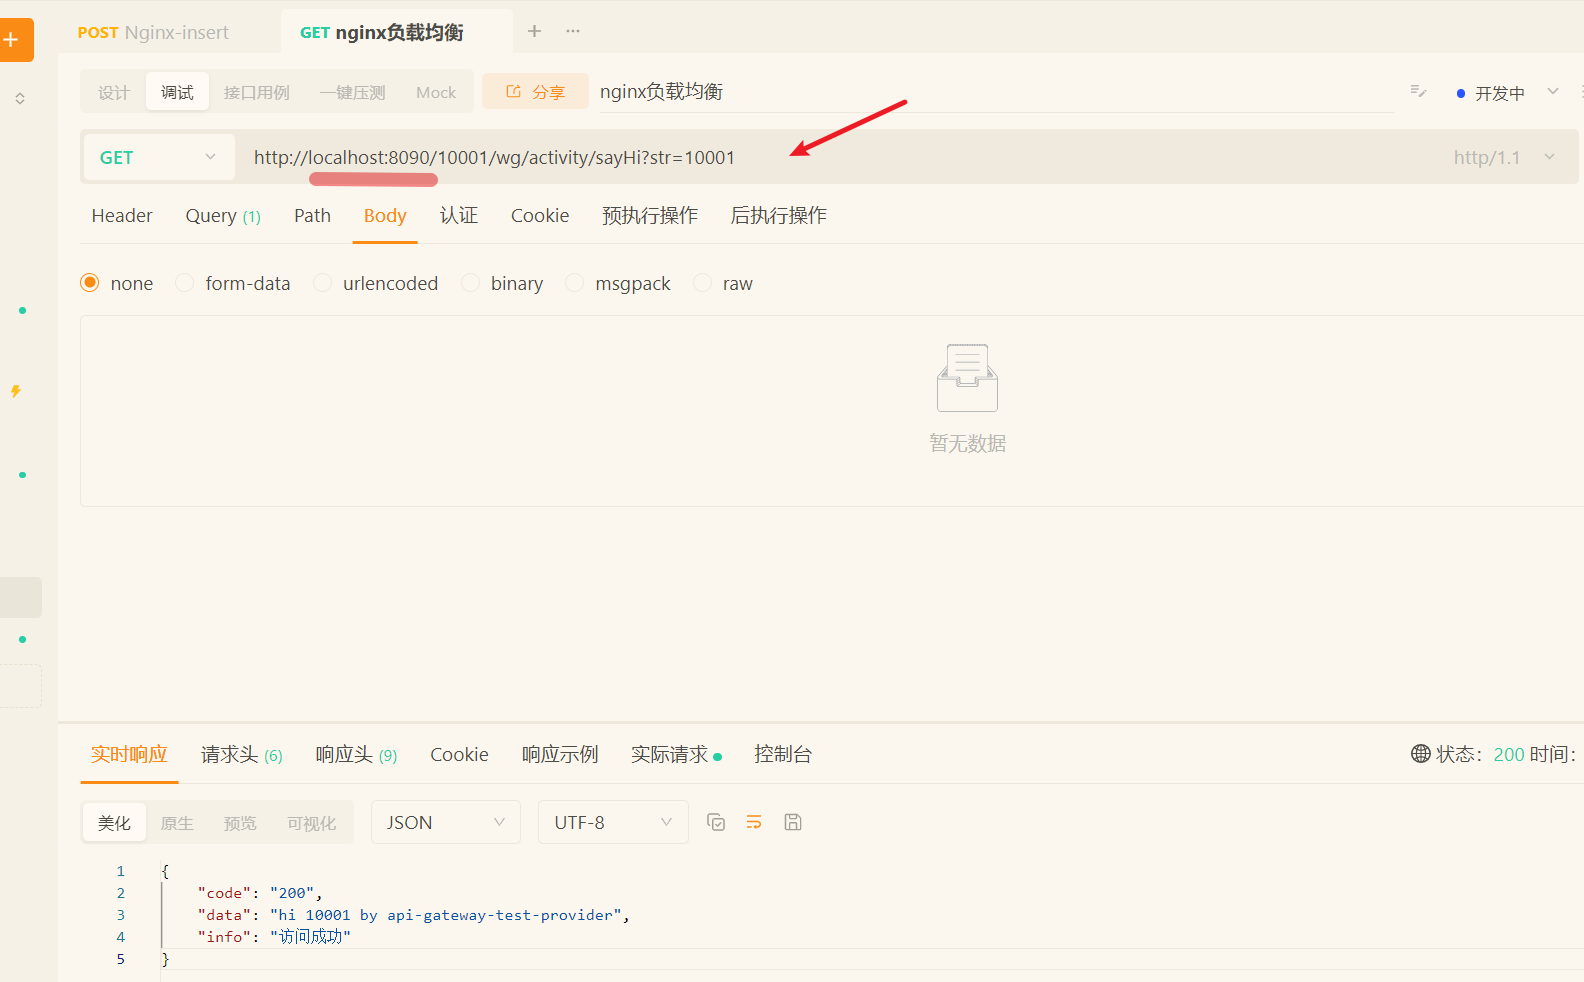
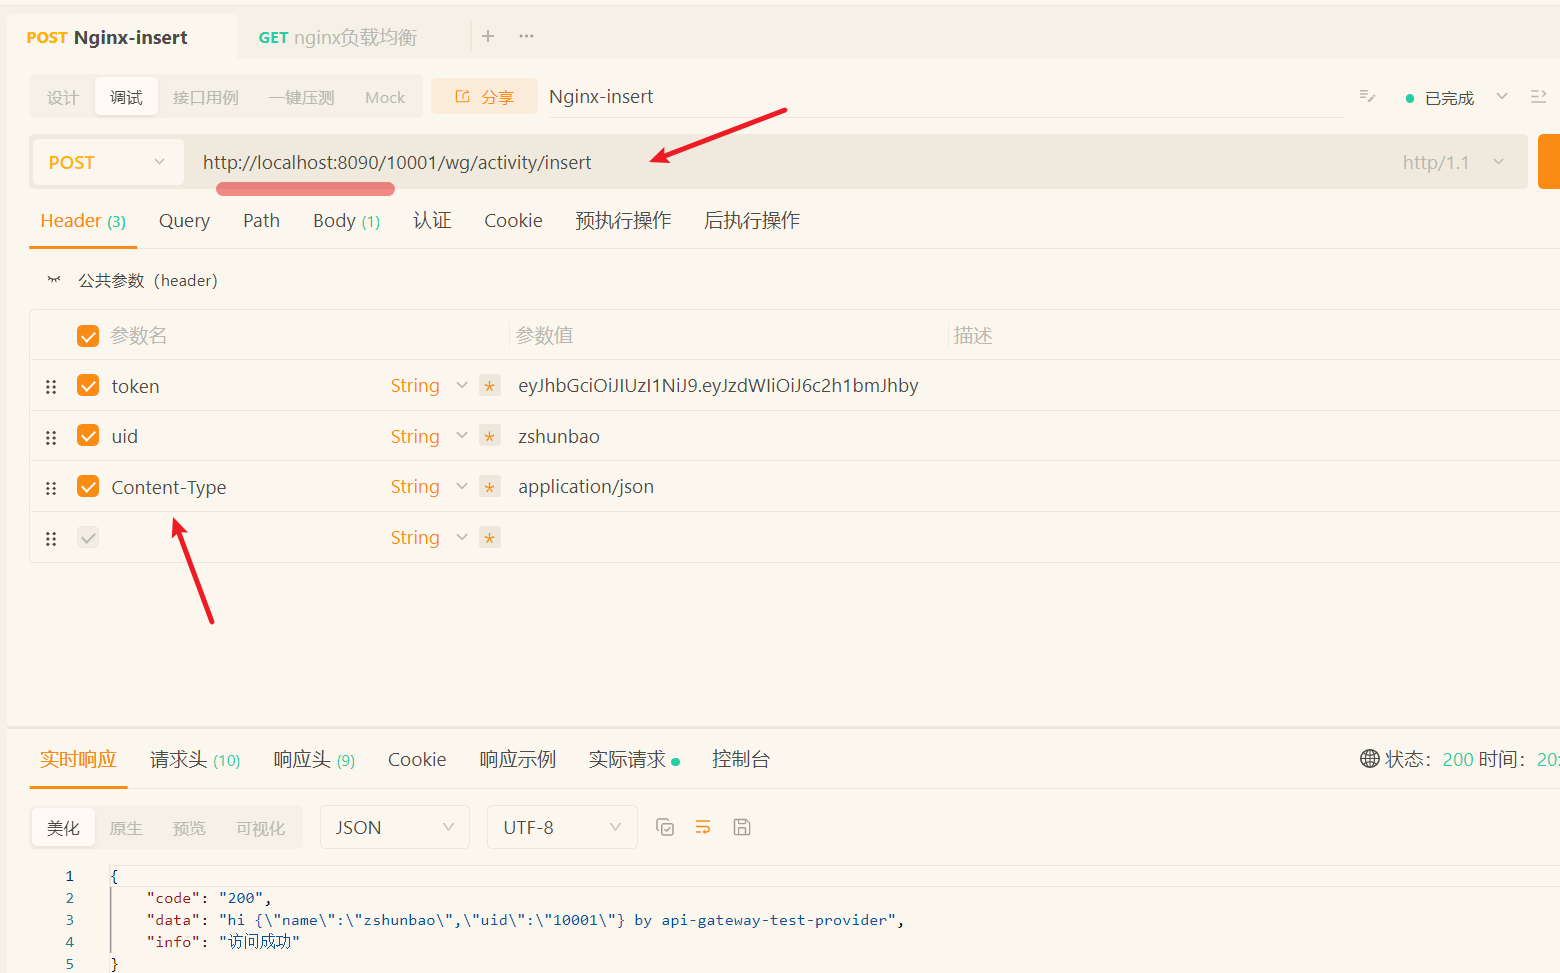
注意测试insert方法的时候,在以往的测试中,我们是直接访问的网关算力服务api-gateway-core监听的端口(请求header没有带Content-Type也能通过),但是在使用Nginx进行反向代理负载均衡时,访问Nginx的请求,必须带上Content-Type参数。这是因为
我们的网关核心的 POST 解析强依赖 Content-Type 来决定是解析 JSON 还是 form-data,缺失就会抛错。
直连 7397 时,客户端(如 Postman/Apifox)很可能已“自动补上了” Content-Type: application/json,所以成功;而走 Nginx 时,Nginx不会替我们补这个头,很多客户端在经代理时也不会自动加,于是网关拿不到 Content-Type → 解析异常 → 502
最后我们多请求几次有关insert的请求,看看能否做到负载均衡,结果如下
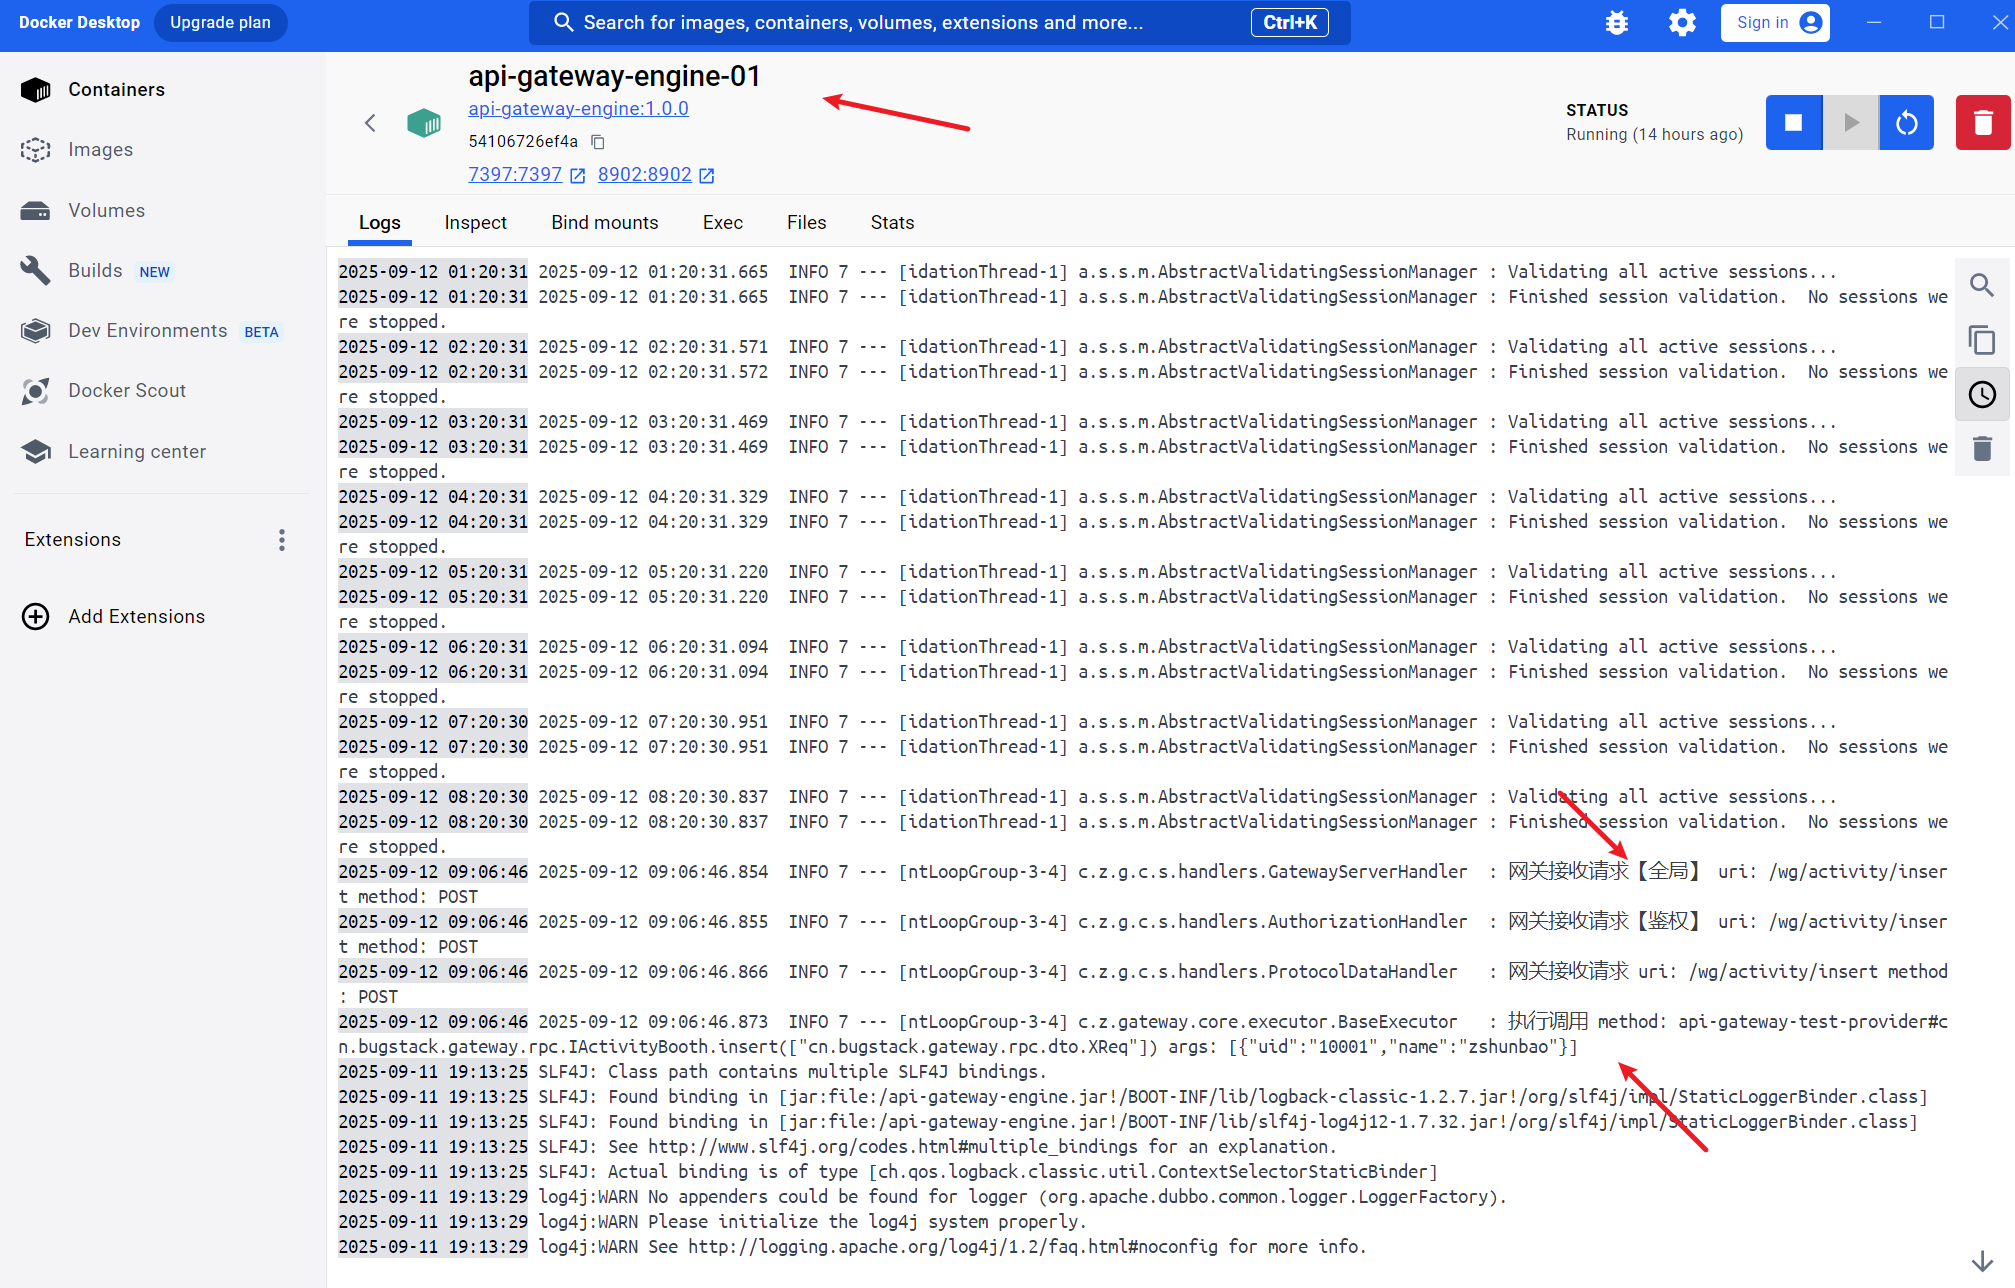
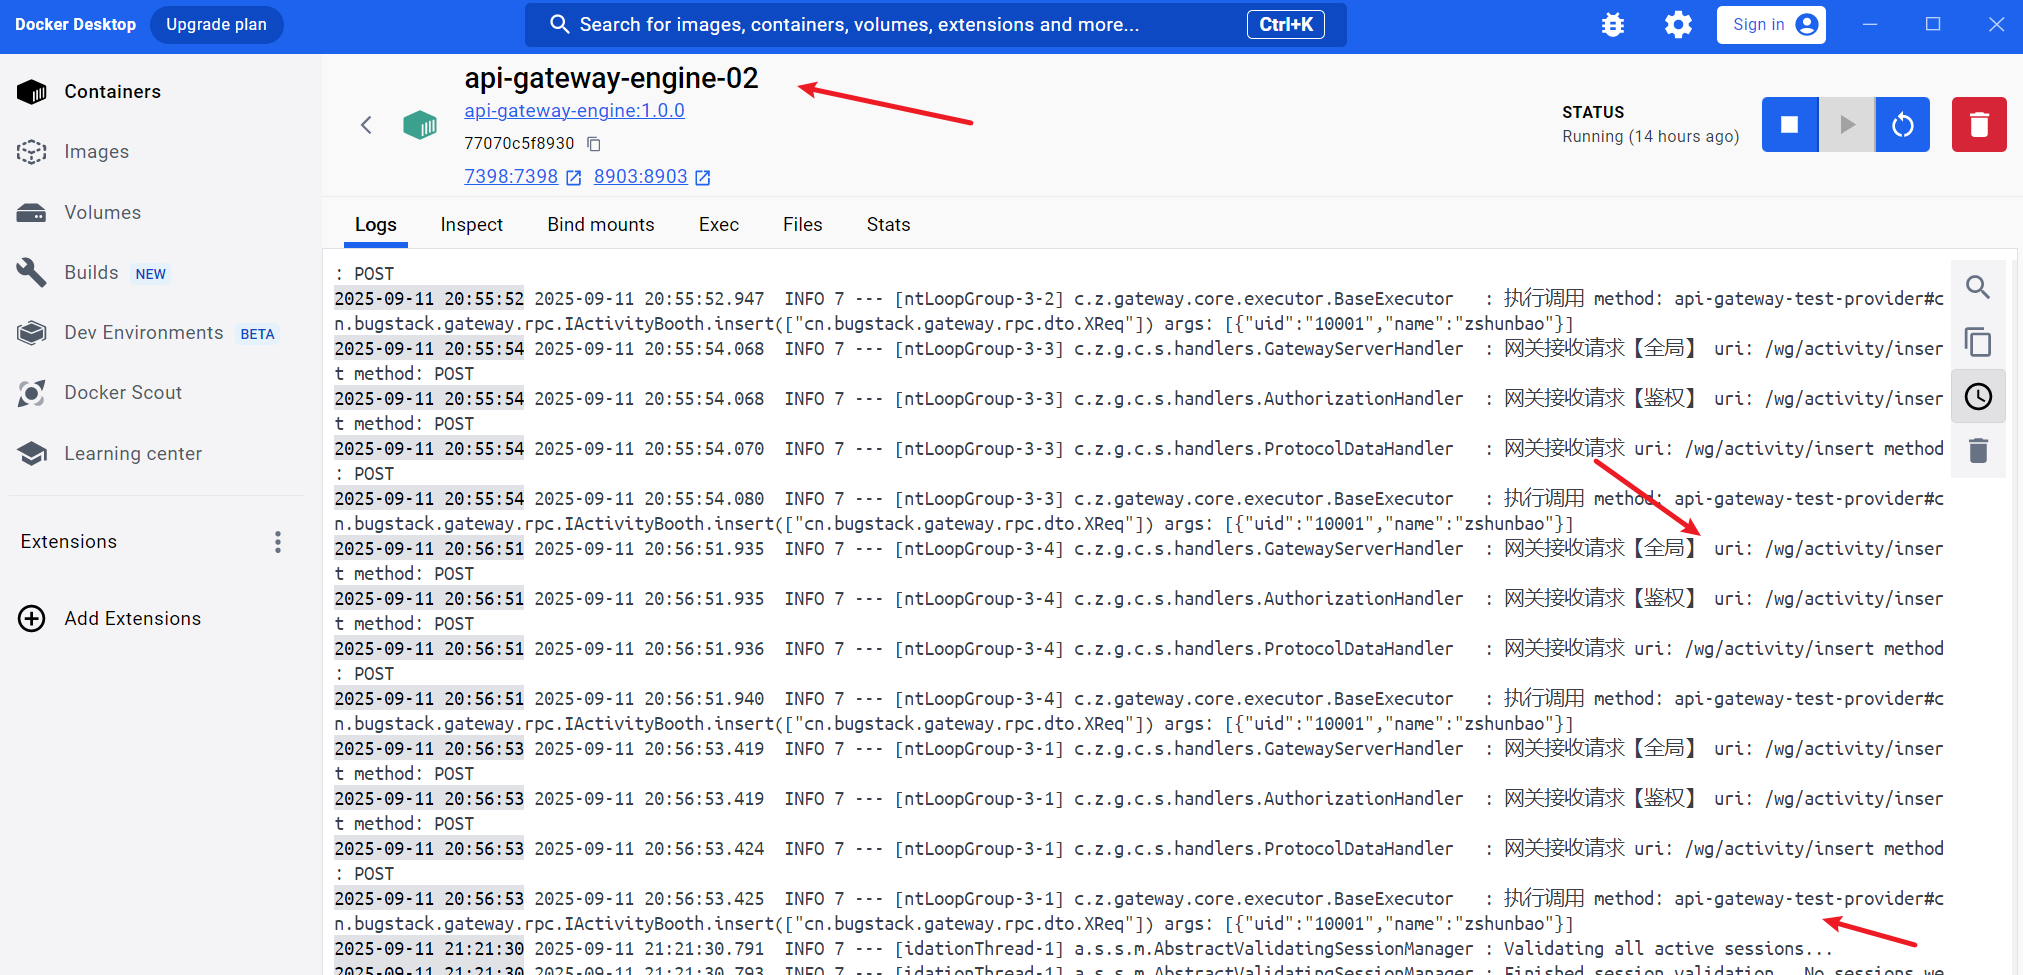
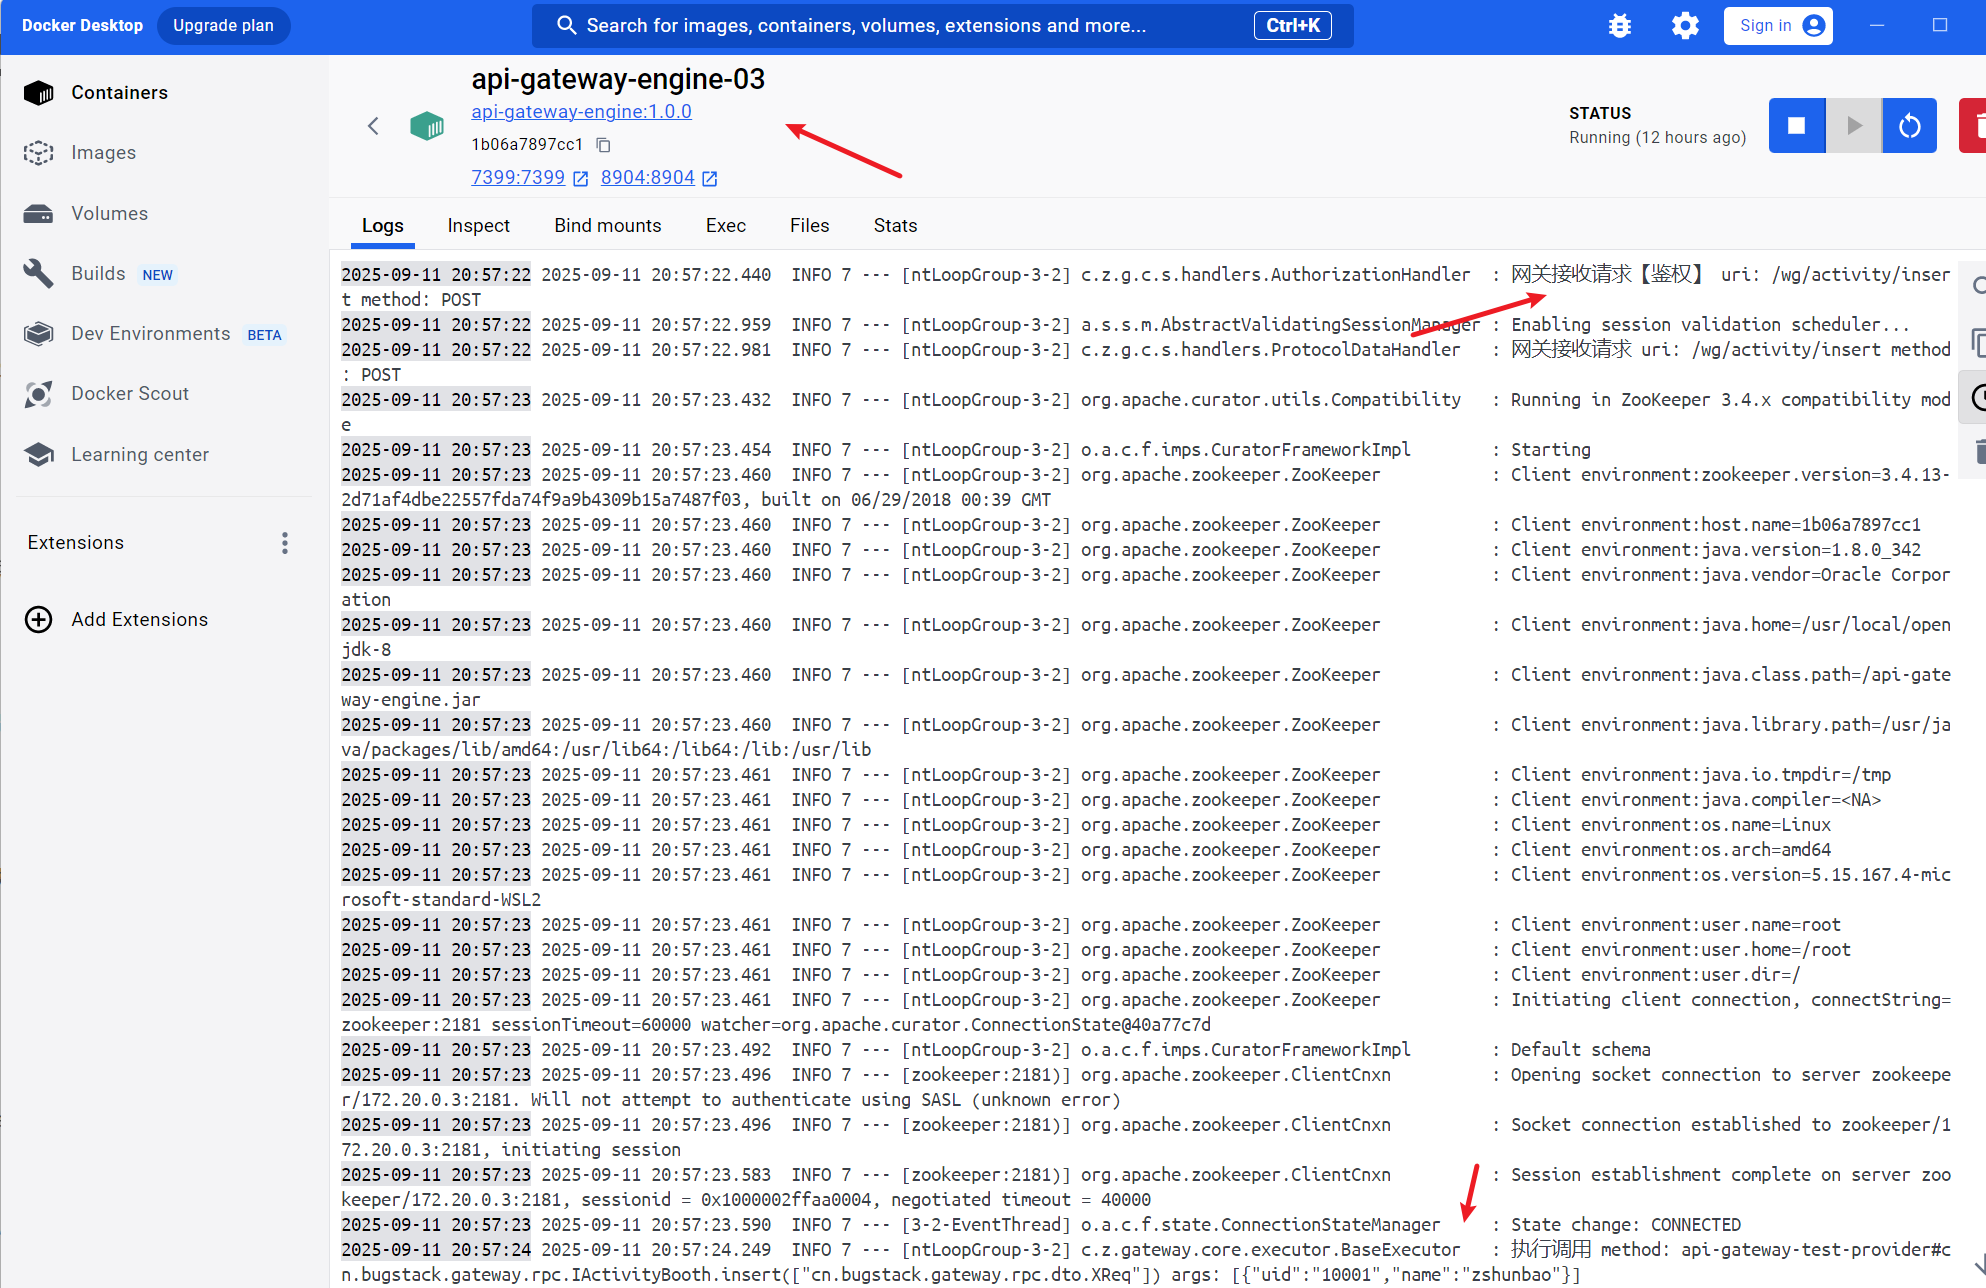
测试成功